Friday, June 10, 2011

Saving Sea Life

This post is dedicated to my Sister E and her loved ones.

If you haven't heard the hub bub over the blog The House Behind The Other Houses, you better get yourself over there.   Not only are we learning the art of composting, but we are seeing the goings-on in and around a humble house in a small city in eastern Massachusetts.  And to top it off, she has added a challenge to herself, her family and anyone else who would like to participate.  The challenge is to reduce your intake and use of plastic.  Here is one reason why.  You may want to help towards this cause also.  I know we do.

Today UD and I took a boat ride.  On the way back into the harbor, UD found a plastic bag floating in the water.


Never one to run from a challenge, UD turned the Putt-Putt around and honed in on it.  I was at the helm ready and waiting with my boat stick.  It was a success.  This plastic bag is not going to interfere in any Sea Life on the Rocky Coast.  Thanks for the inspiration E!


A bientot!  See you soon.


Potato Salad I Finally Like

I have always thought that most potato salad is pretty bland.  Including any I have attempted to make.  Recently I saw a cooking program and they were making chicken salad.  They added sour cream to the mayonnaise, to cut the richness of the mayo.  I tried it, and it was pretty good.  So I figured it would be good on potato salad too.  I made it, and I liked it a lot better that way.  But now I have one more ingredient to add, and it really makes it tasty.  It is Irish Stout mustard.  Delicious.  And even if you don't typically like mustard, try this.  There is a sweetness to it that I love.  Now I have a potato salad dressing I actually like.

Here are the ingredients I used, but there are so many veggies you can add.  It is all a matter of taste.  This one is very basic. 

Yukon gold potatoes
Red onion
Celery
Fresh Parsley 
Mayonnaise
Sour cream
Irish stout mustard
Kosher salt
Fresh ground pepper


I forgot to mention the hard boiled eggs.


I want to steer you to a new blog I am enjoying. It is called The Reluctant Gourmet. It is a great blog, and this link will get you to a great list he created for ingredients you may want to try with your next chicken salad, or potato salad for that matter.

I started with 4 good sized Yukon Gold potatoes. In my opinion these are the best potatoes for potato salad. They are not quite as starchy as Idaho, and they are delicious. Cut the potatoes up into bite size or a little larger pieces. I didn't cut these small enough, but I remedied the problem later.  Place the potatoes in cold water in a pot and bring to a boil.  When they come to a boil, salt the water pretty heavily.  Maybe a couple of teaspoons.  Cook them until they are fork tender.  This can be a little troublesome to figure out what fork tender should be.  How do you know when they are fork tender, or are just about to fall apart, which you don't want.  I will actually test them with a fork, and if they seem tender, I will take one out and cut off a tiny piece and eat it.  If the texture is pleasant, you are done.  If it still seems a tad hard, boil a little longer.  Just keep testing it.


I used a half of a large red onion.  UD and I LOVE onion, so I go quite heavy on it.  Along with 3 stalks of celery, and a couple of tablespoons of fresh parsley.  Cut these all up into a small dice.


Set them aside and you will add them a little later.


Now the dressing.  This is the most important part to me.  This is usually the reason that a potato salad tastes bland.  That, and not enough salt.  Any who, make the dressing in a separate bowl.  If you add the ingredients to the potatoes at this point, they won't mix together well.  I like it if there is left over dressing.  I refrigerate it and keep it for sandwiches, instead of just mayo.  So at this point I would put just about a 1 to 1 ratio of mayo and sour cream.  Maybe just a little bit less of the sour cream.  Here I probably used 3/4 cup mayo to an overflowing 1/2 cup sour cream.  And then two or three tablespoons of the Irish Stout mustard.  Add about a teaspoon of salt and some fresh ground pepper.


Mix it all together and then TASTE IT!  Sorry I am yelling, but tasting now is so important.  If it doesn't taste good at this point, it is not going to taste any better on the potatoes.  If you think it needs more of something, add just a little and mix well again.  Then TASTE IT again! 


Drain the potatoes and let them cool a little.


Remember I cut mine too big?  So at this point I put them on the cutting board and cut them into smaller pieces.


Then I put them in an over sized bowl, to do the mixing.  This helps in a couple of ways.  A, it allows the potatoes to cool even more, because they aren't on top of each other keeping the heat in.  And 2, you can be messy in your mixing and put it in a pretty bowl later, for a nice presentation.


When you add the dressing mixture, go easy on the amount.  You don't want to drown the potatoes.  You can always add more later.  Just lightly coat them at this point.


Cut up your perfectly cooked hard boiled eggs.


See posting Stinky But Delicious to see how to create the perfect hard boiled egg.


Add the eggs along with the onion, celery and parsley.  Mix everything together somewhat gently, so that you don't mush the eggs all up.  If at this point you think you need more dressing, by all means add it.  But just a little at a time.  And please taste the potato salad as you go, to see if it is to your liking.


When you are happy with it, put it in a pretty bowl.  Ina Garten from Barefoot Contessa, always says food looks pretty on white plates.  I completely agree with her, except in the case of potatoes.  So I went with blue.


I hope you like it.  Bon Apetit!


A bientot!  See you soon.


Thursday, June 9, 2011

Two Stinky But Delicious Food Items

Steamed Broccoli is one, and hard boiled eggs is the other.

Let's start with the broccoli.  I have had a couple of microwave steamers in the past.  The first was from Tupperware and the second was from Pampered Chef.  Both were terrific.  I had the Tupperware one for more than 10 years, and it finally just fizzled out.  The Pamper Chef one must have been lost in the move to The Rocky Coast.  So on a trip to Bed Bath and Beyond, I found another one.  This one was a lot cheaper and I figured I would give it a whirl. 


It has actually worked very well.  I really like it.  So let's steam some broccoli.  The two ingredients you need are broccoli and Molly McButter.  I was introduced to this years ago, and the steamed veggies are the only thing I think I have used it on.  I remember a party given by Darling once, and she very nicely made some plain pasta with Molly McButter on it.  It was actually delicious.  I will have to try it sometime soon.


Cut up the broccoli into bite size, or a little larger, florets.


With whatever you are using to steam, make sure there is a little ventilation.


This microwave is 1000 watts, and it takes 7 minutes to get the broccoli to tender crisp.  So adjust your time to whatever your wattage is.  It took a few trys for me to figure out that 7 minutes worked really well with this microwave.


Have a dish with a cover ready to transfer the broccoli into.


Sprinkle liberally with the Molly McButter.  Cover it and let it sit for a minute to absorb the M Mc.  Then shake it a little to get each piece covered.  UD and I leave this in the fridge and snack on it through the day.  But it is perfect as a side dish also.


Now on to hard boiled eggs.

It seems like a lot of people have a tough time making the perfect hard boiled egg.  I was one of them, but I was determined to master it, with the help of some great tips from the crew at the Food Network.

I have a new gadget to help with the hard boiled eggs.  Recently I went with two friends, L and P, to a kitchen store I had never been to.  It is called The Well Tempered Kitchen.  It was really nice and I will be back.  P pointed out the little gadget below.  It is to poke a teeny hole in the raw egg, so that when you are boiling it, the egg doesn't crack.  I used it this time, and it appeared to work great!  None of the 4 eggs were cracked and I believe it may have been a little easier to peel them also.  You hold the gadget against the top or bottom of the egg and press it.  A little pin comes out and pokes the teeny hole.  Now I am not saying you HAVE to have this adorable little gadget, but it sure is fun.


Start with cold water, and make sure there is enough room for all the eggs you are cooking.  These are for potato salad, so I am doing four.  Three for the salad and one for Frankie, Stella and me.  They split the yolk and I get the egg white.


When the water has come to a complete boil, remove the pot from the heat and cover it.  Let it sit for 13 minutes.


After 13 minutes, empty the hot water and fill the pot with cold water.  Let the eggs sit in the cold water for a couple of minutes, and then peel.


You will have beautiful yellow yolks without any green ring around it. 


They really come out perfect every time.  Now I have to get these into the potato salad!


A bientot!  See you soon.


Sunday, June 5, 2011

Chicken Stir Fry

Occasionally and unfortunately UD gets a bout of gout.  It is supposed to be one of the most painful types of arthritis.  It is usually brought on by rich foods, red meats, shellfish, sweets and alcohol.  All the good stuff, nes cafe?  So tonight I had planned on trying a shrimp recipe that I saw on a great blog my sister introduced me to, called One Little Corner of the World.  The recipe for Margarita Grilled Shrimp looks delicious.  However, shellfish is one thing I needed to avoid tonight.  So I went with Chicken Stir Fry.  Always a favorite of ours, and one that won't add any fuel to the fire in UD's ankle.

Two of my favorites veggies for stir fry are onion and pea pods.  Unfortunately the supermarket didn't have pea pods.  Very unusual, but, oil well...  I had looked up veggies that would not be harmful to gout, and two they listed were mushrooms and cauliflower.  So in the basket they go.  And lastly I chose asparagus, because it is still in season and oh so tasty!  It is a lot of white ingredients with the one green of asparagus, but we will make it work.


I like using chicken tenders, but you can certainly use chicken breasts or thighs.


Cut the veggies to approximately the same size size.


Cut the chicken into whatever size you like, bite size or a little bigger.  Then salt and pepper them.


When I have everything ready for the stir fry, I get the rice going in the rice cooker.  I really recommend a rice cooker, because you can start it well before you get dinner going, and it will remain warm until you are ready for it.  And they aren't that expensive anymore.  My sister introduced these to me many years ago.  I know I can make rice without one, but I don't wanna.


I use canola oil for the stir frying and teriyaki sauce for the final ingredient.  This teriyaki I found is terrific.  And it has all natural ingredients.  It is Veri Veri Teriyaki.


Start off by making your pan and oil very hot.  Put one piece of chicken in to start.  If it doesn't sizzle when you drop it in, then the oil and pan aren't hot enough.  Wait a couple of minutes before you add the rest of the chicken.


When the chicken is golden brown on the first side, turn them all over and let the second side get golden also.


Remove from the pan and set aside.


I have decided I like to put the mushrooms in first.  Then they have a chance to get golden brown and delicious.


When the desired goldness is achieved, remove the mushrooms and set aside.


Add a little more canola oil if necessary, and let it heat up again.  Add the remaining veggies.


Stir them around while they are getting tender crisp.


Add the chicken and mushrooms back in.  Then add as much teriyaki sauce as you and your family like.  Remember though, you can always add more, but you can't take any away once you have added it.


Serve it up, and enjoy!


A bientot!  See you soon.


Monday, May 23, 2011

Pot Roast For The Kids

When it came to Gram's pot roast, the kids just loved, loved, loved it.  We all did.  She would serve it with mashed potatoes and a couple of different veggies.  The gravy from the pot roast was rich and delicious.  It was just right for pouring over both the mashed potatoes and the roast.  It was delicious.  I have been experimenting with getting my pot roast to mimic hers.  I think I am pretty close, but I want to hit it out of the ball park just once before I make it for the kids.  One thing I know she used was cream of mushroom soup.


These are the ingredients I used.  I am adding a few things to the meal that I think will be nice additions.  Like the fresh mushrooms for one.

3.5 pound chuck roast
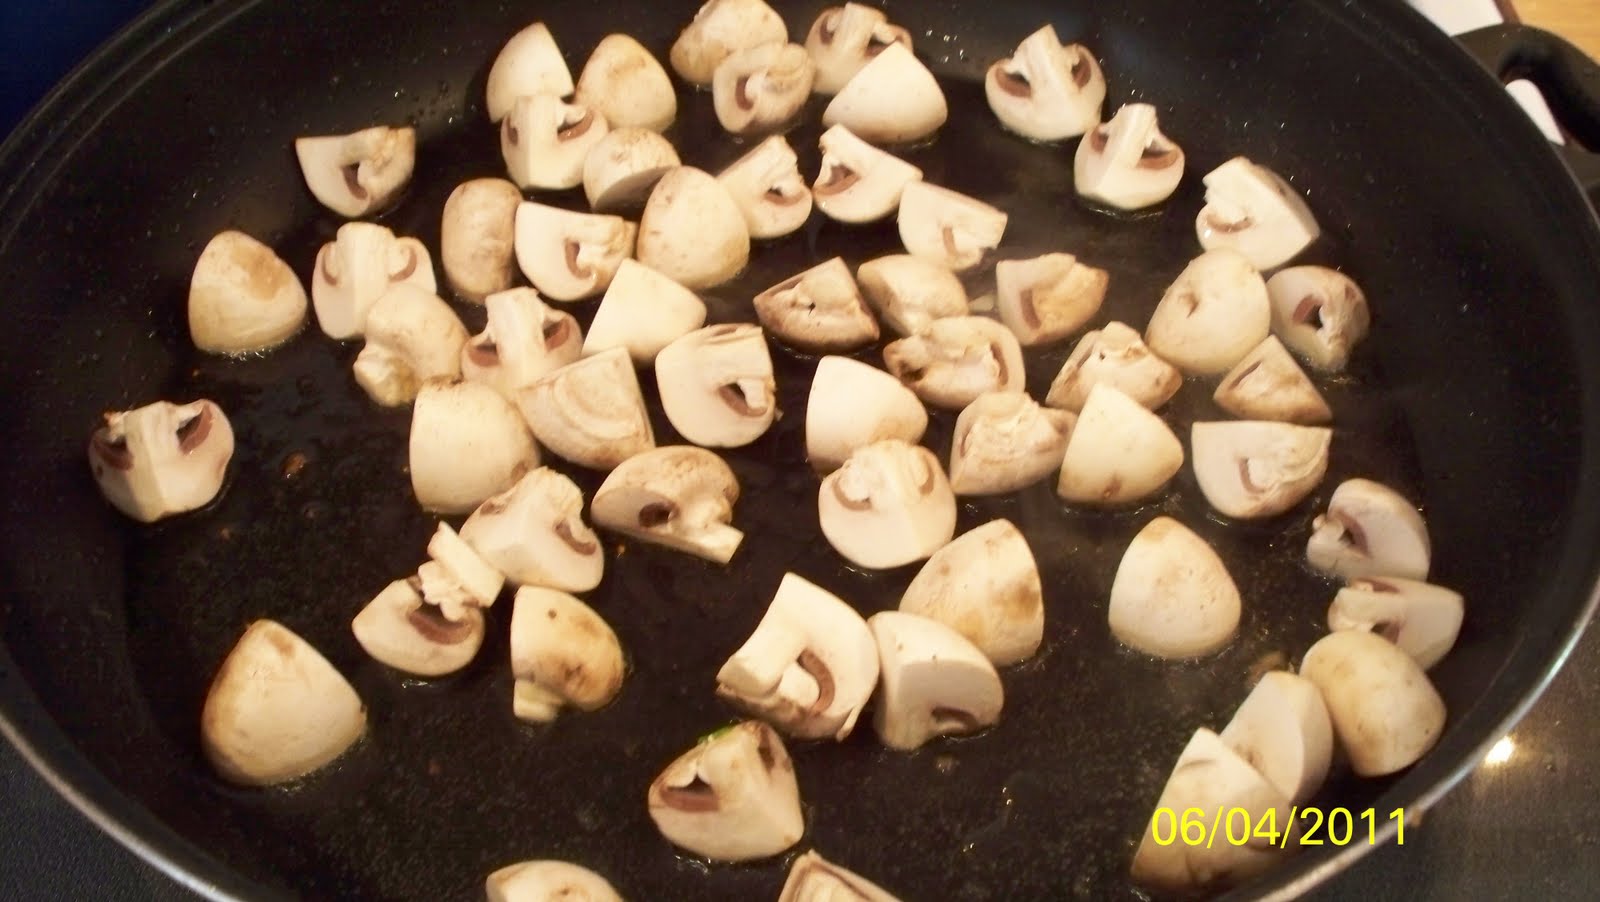
8 ounces of button or cremini mushrooms
2 cans of cream of mushroom soup
1 envelope of Lipton onion soup
1 cup of water
1 tablespoon of chicken stock
Vegetable or Canola oil
And of course Kosher salt and freshly ground pepper

Slice the mushrooms somewhat thick.


Mix the dry Lipton onion soup mix with the water.


Then add the two cans of cream of mushroom soup and mix all together.


Brown the meat in vegetable or canola oil over a medium high heat.  Let the oil and the pan heat up before adding the meat.  If you have a dutch oven, like the one below, that is the best pan for this.  But any heavy pan with a lid will do.  Or you could cover it with heavy duty tin foil.


Be sure to brown the top, bottom and all the sides.  After all, brown food is delicious food!  That is one of many things I learned from Anne Burrell on her show, "Secrets of a Restaurant Chef".

Side note:  While I was working on this, UD was outside doing something with the boat hitch.  He opened the back door and said "Is something burning in there?".  Well, I never!  I yelled back "Only if you call creating delicious flavors burning!".  Luckily for him, he smiled and went back to what he was doing. 


When it is brown and caramelized all over, remove it from the pan and put it on a dish until you are ready to put it back into the pan.


See all the brown bits on the bottom?  That is the best flavor around.  Add the mushrooms and swirl them around the pan for about a minute.


Then add just about a tablespoon of chicken broth to help deglaze the bottom of the pan.  Stir all that around for 2-3 minutes.


Add the meat back in, and be sure to add any of the juices that may have dripped onto the plate it was resting on.


Then add the soup mixture.


Cover the pan and put in a 250 degree oven for 6-8 hours.  After about 3 hours I pulled it out and turned the roast over.  Then I left it alone. 

As I return to finish this post, I feel that something might need some splaining, as Ricky Ricardo would say.  l am sure you are aware that pot roast is considered comfort food.  You would think it is the middle of January, and I am feeling gloomy and disheartened and just need some comfort food to get me through it.  However, we all know it is the middle of May.  But here on the Rocky Coast, we have experienced what feels like 40 days and 40 nights of rain, drizzle, showers, downpours, blah, blah, blah.  Any who, it has been miserable and depressing.  So yes, I have felt the need for comfort food.   But I digress.  Let's march forward with dinner.

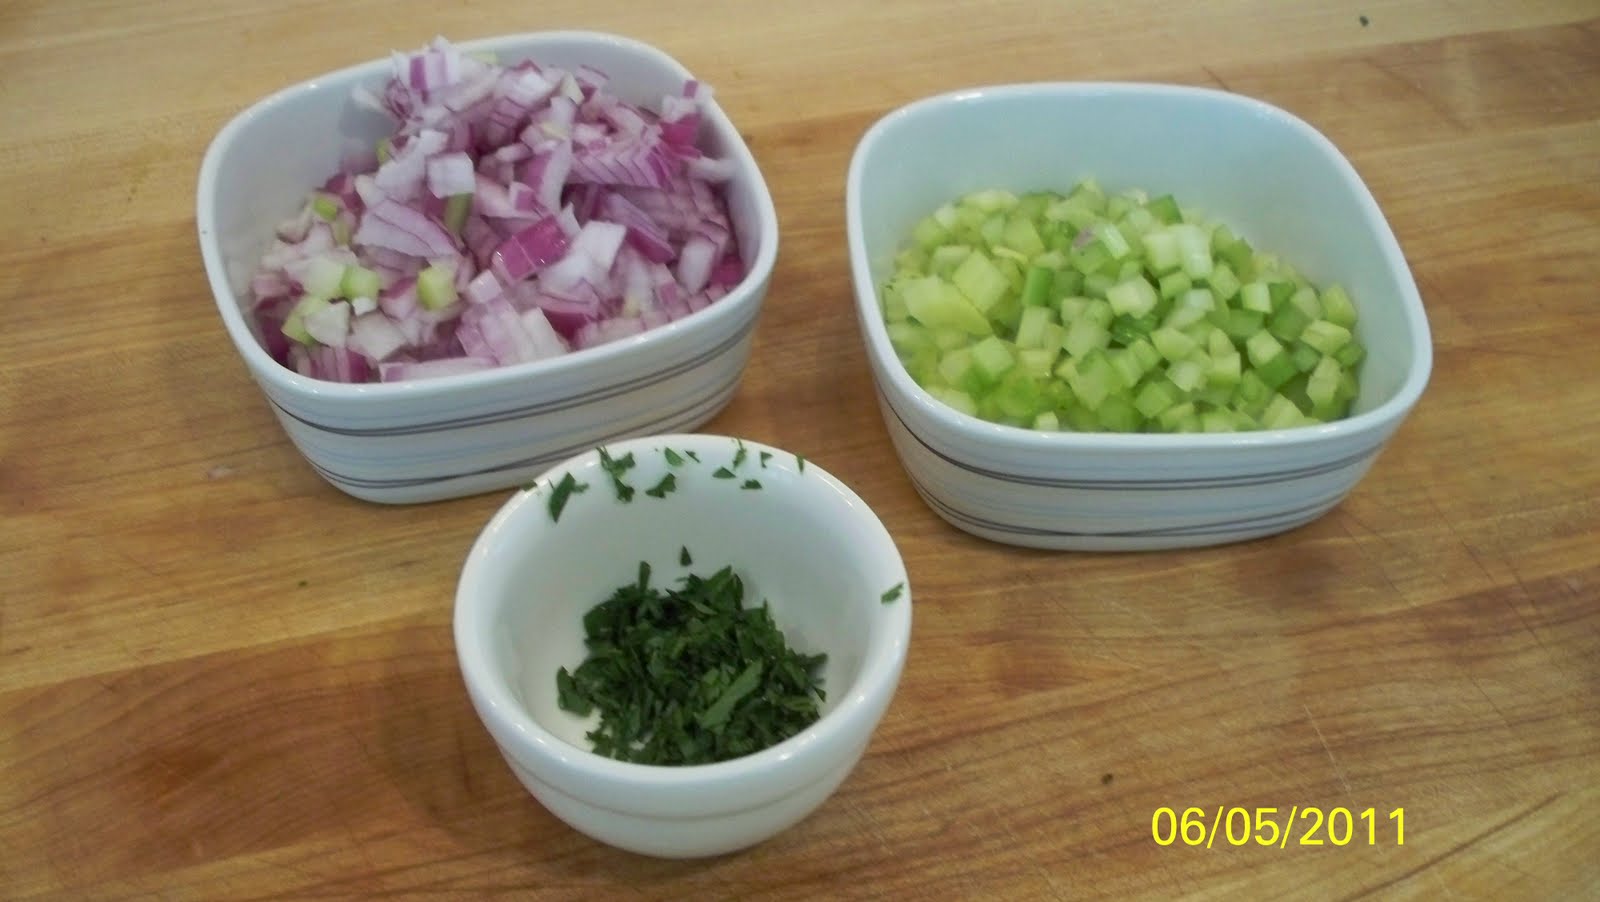
These are the ingredients for delicious pan roasted brussel sprouts.  See the post "Chateaubriand, Salad And Sweet Brussel Sprouts With Mushrooms " for the details.  This evening I omitted the mushrooms.


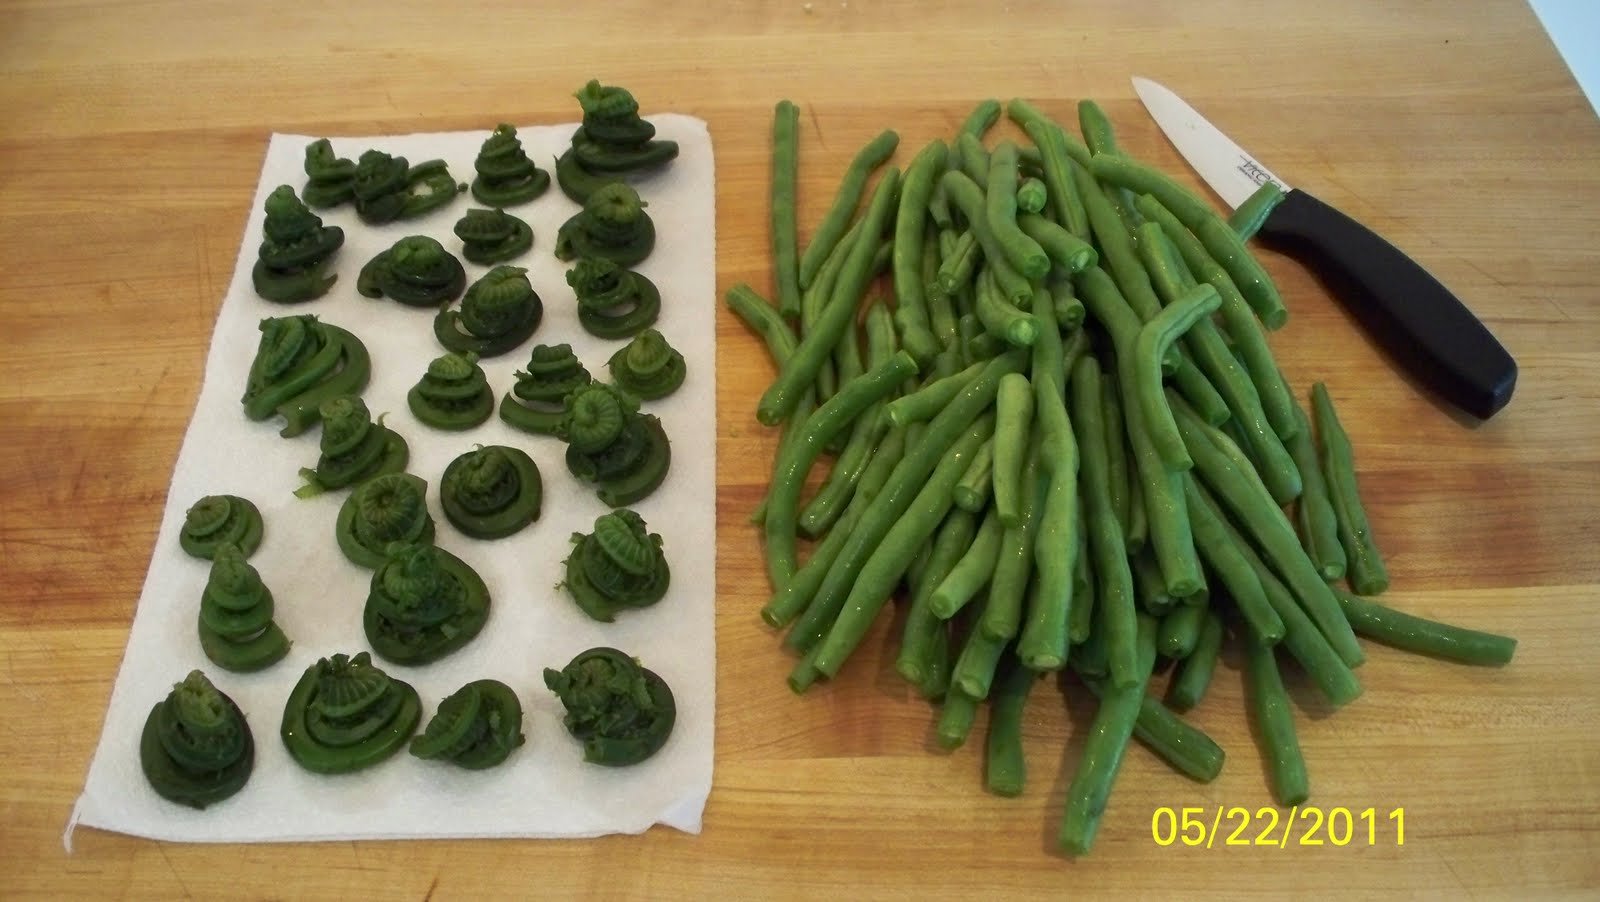
As I mentioned in my last post "Fiddleheads", I think I ruined the flavor of the fiddleheads by boiling them.  So I was bound and determined to try them roasted.  I will let them share the oven with the green beans.


I treated them both with EVOO, salt and pepper.


The beans take twice as long as the fids, so I put the beans in a 425 degree oven for 10 minutes, pulled them out and added the fids to the pan.  And just as I had hoped, fiddleheads are soooo much better roasted. 


Onto the mashed potato.  This is even more decadent than the way Gram used to make them, but I wanted to go all the way.  Now don't judge me, you have to remember the 40 days and 40 nights!

UD peeled about 4 or 5 medium sized Yukon Gold potatoes.  I think they are best for mashing.  I cut them into approximately 1.5 or 2 inch pieces.  Boil steadily in salted water until they are fork tender.  Usually that's between 10 and 20 minutes.


Drain them and return them to the same pot.  I added a couple of tablespoons of butter, pepper, salt and about 1/4 cup of light cream.  Mash it with a hand masher, or whip it with an electric mixer.  When you have your desired consistency, add a couple of tablespoons of sour cream and as much freshly grated cheese as you want.  Blend it all together and you will have the tastiest, most decadent mashed potatoes ever.


Here is the pot roast when I removed it from the oven.  I put it in at 11:30 AM and pulled it out at 6:30.  It was seriously delicious, and the gravy was fantastic.


Rather a big serving dish! Oops a daisy.


The veggies were delicious also.


UD took this shot of the repast.  We were so happy while eating it, and so full shortly into it.  But there are plenty of leftovers, and they certainly won't be wasted.


My conclusion is, the ball has been hit out of the park!  This pot roast is ready for the big leagues, the kids.

A bientot!  See you soon.